Installation and Startup
Check to make sure that the MicroSD Card is inserted into the writer. The MicroSD card may likely be inserted before it is shipped to you. If for any reason it is not, please insert it now.
Connect your LightSpeed Neo to your computer using the included USB cable.
Momentarily press and hold the power button until the power light turns on, then release the power button.
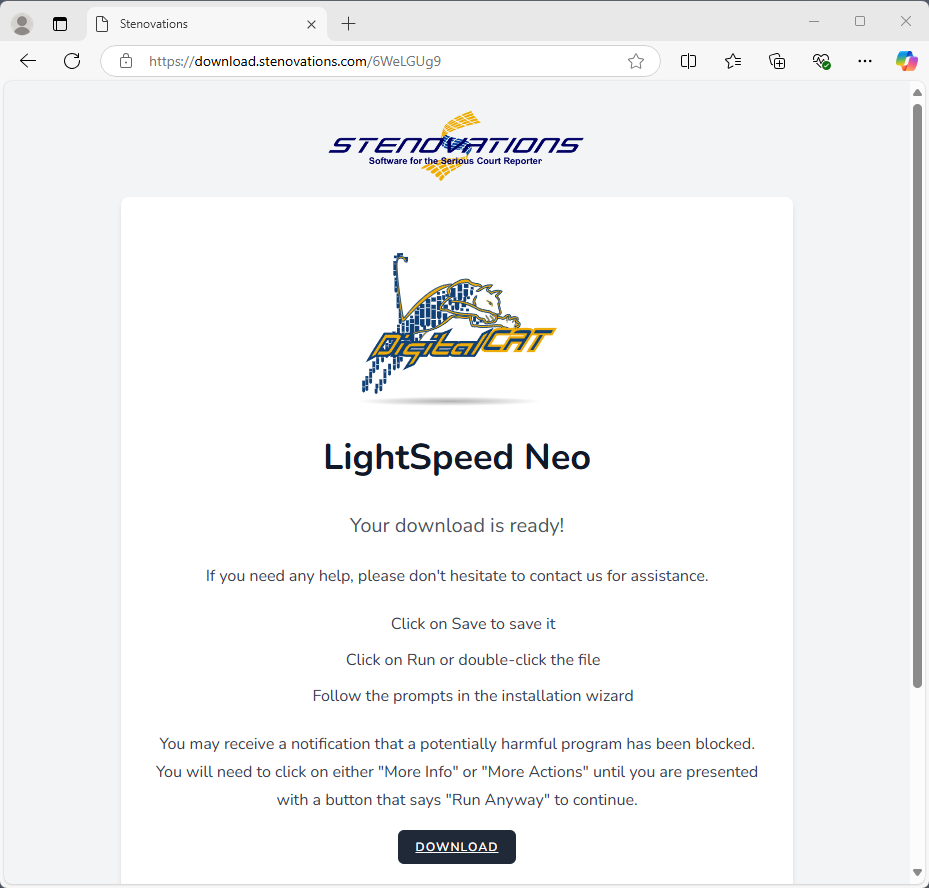
Find and open the email that we sent to you for your Download for the LightSpeed Neo Software. Click the link in the email to go the the download page

Click the "Download" button on the page to begin the download.
You may see a warning that this file isn't commonly downloaded. Click on "See More" in order to get more options.
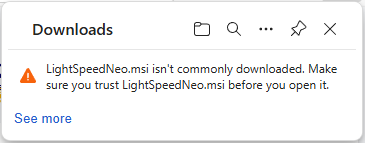
There will then be a trash can icon, and an ellipsis icon (three dots, "..."). Click on the ellipsis icon, then in the menu that pops up, click on "Keep".

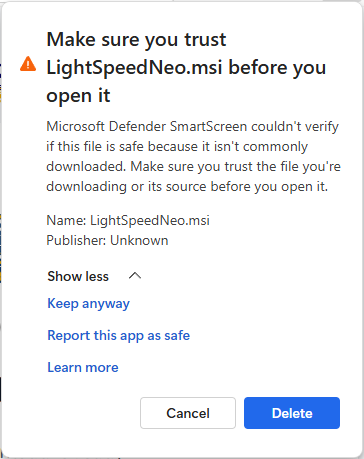
Frommay see a warning saying that you should make sure you trust LightSpeedNeo.msi before you open it. Click on "Show More", and then on "Keep anyway".
Allow the
UserfileAccountaControlmoment“to finish downloading, and then clickyes”on "Open File".(figure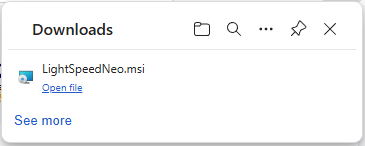
You2-1)
will- then
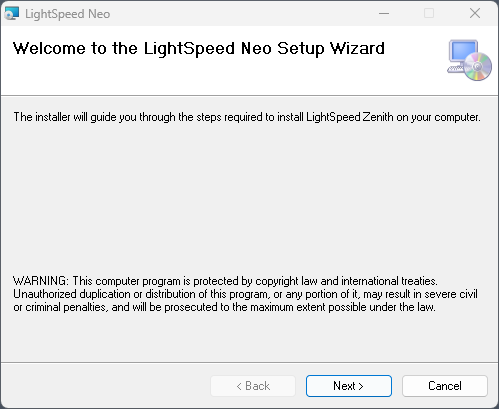
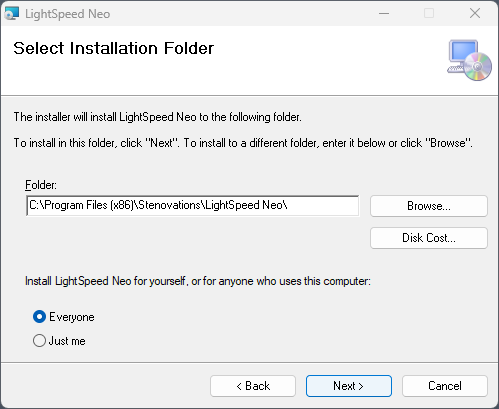
LightSpeed Zenith Wizard / select “Next.”Selectsee thedesiredLightSpeed Neo InstallationfolderWizard./Clickselecton“Next.”"Next".Confirm
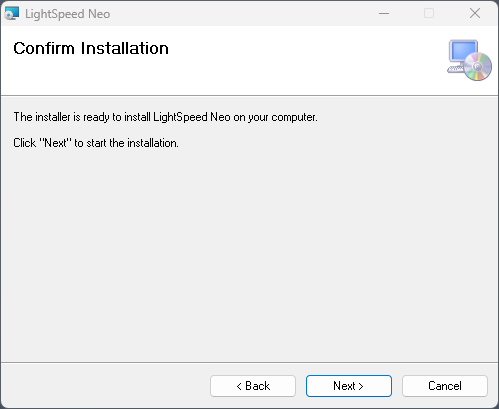
InstallationThe
/installationselect “Next.”An Installing Windowwizard willappear.thenUponallowcompletionyou to choose where to install the LightSpeed Neo software. Normally, you do not need to change any of these settings. Click on "Next".
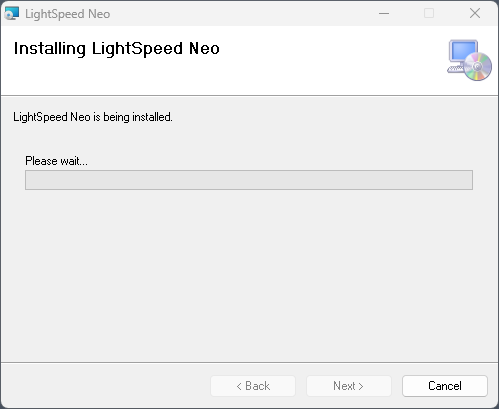
The installer will then tell you that it is ready for installation. Click on "Next".
Wait for the installation to proceed. If you receive a
newpromptwindowaskingwillyouopenif you'd like to run the program, click "Yes".
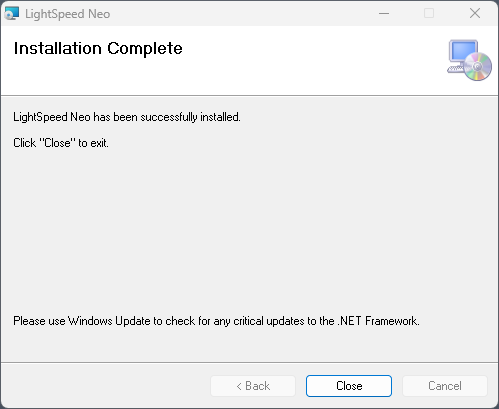
When the installation is complete, click on "Close".
confirminginstall
completion.
- Select the Windows Zenith icon to start the GUI software (figure 2-2).
- The Zenith Graphic User Interface will open displaying the control panel. (figure 2-3).
- Select Setting and then Options.
- Select the Keyboard Model (figure 2-5) and click Save.
- Return to main application window. If the button says Stop the unit is ready to use.
Should it display “Start” then click the button. - If necessary, use the COM port drop-down to select the desired port assignment. Com
5 is generally the default communication port and should be so designated in your CAT
software. - Open your CAT program.
- Continue to next page.
You