# Quick Start
# Important Notices
We have a few quick things we need to make you aware of before you use your LightSpeed Neo writer for the first time.
**The LightSpeed Neo is a precision calibrated instrument.**
**Do not** place objects on top of the writer.
**Do not** apply pressure to the keys in excess of pressure normally used during operation.
**Do not** pull the keys upwards or away from the device.
Doing any of these things may require recalibration, or can potentially damage the writer.
**The MicroSD card may be saving data at any time.**
**Do not** remove or insert the MicroSD while the writer is on.
Turn the writer off before inserting or removing the MicroSD card.
**Technical Support is available.**
If you run into any issues with your writer, please **do reach out to us**.
You can get a hold of us 24 hours a day by calling +1 (304) 346-8363, or emailing us at .
Once you have read the notices, you are ready to continue to the next section, [Installation and Startup](https://wiki.stenovations.com/books/lightspeed-neo/page/installation-and-startup "Installation and Startup").
# Installation and Startup
Check to make sure that the MicroSD Card is inserted into the writer. The MicroSD card should be included in the package with the writer. Please insert it now.
Connect your LightSpeed Neo to your computer using the included USB cable.
Momentarily press and hold the power button until the power light turns on, then release the power button.
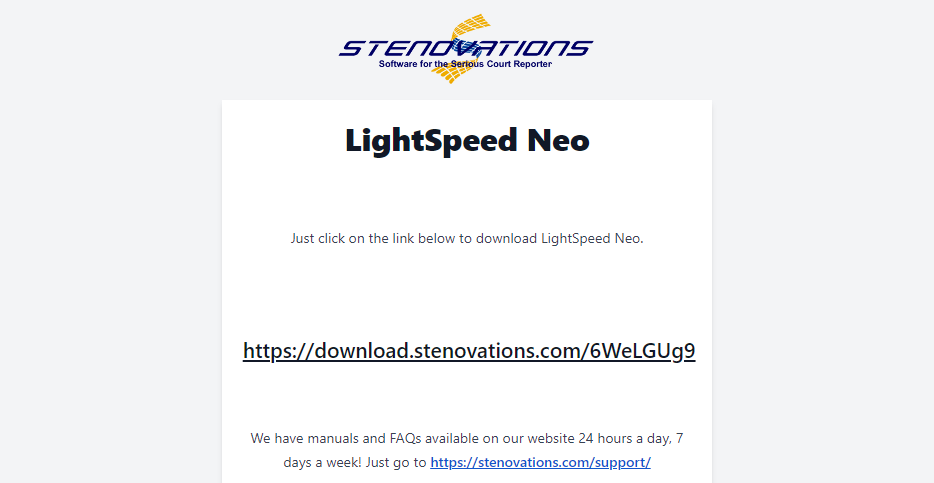
Find and open the email that we sent to you for your Download for the LightSpeed Neo Software. Click the link in the email to go the the download page. If for any reason you cannot find this email, please [reach out to support](https://stenovations.com/support/).
[](https://wiki.stenovations.com/uploads/images/gallery/2024-12/TW9Cf9pga1pUHPBU-image.png)
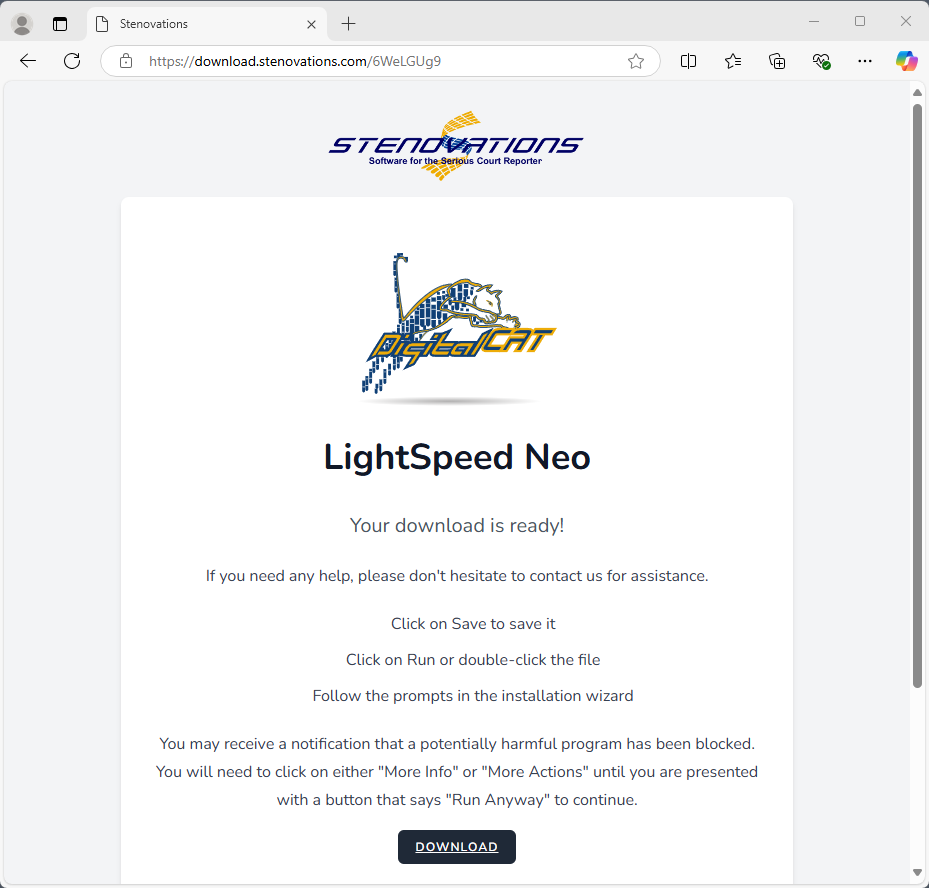
Click the "Download" button on the page to begin the download.
[](https://wiki.stenovations.com/uploads/images/gallery/2024-12/ywJTGwQLEf0EUpmy-image.png)
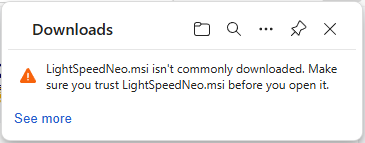
You may see a warning that this file isn't commonly downloaded. Click on "See More" in order to get more options.
[](https://wiki.stenovations.com/uploads/images/gallery/2024-12/jk3JNxojpYJR6Hki-image.png)
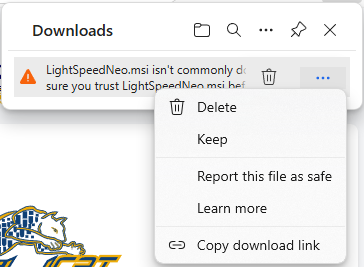
There will then be a trash can icon, and an ellipsis icon (three dots, "..."). Click on the ellipsis icon, then in the menu that pops up, click on "Keep".
[](https://wiki.stenovations.com/uploads/images/gallery/2024-12/kYqykP5xySygexV6-image.png)
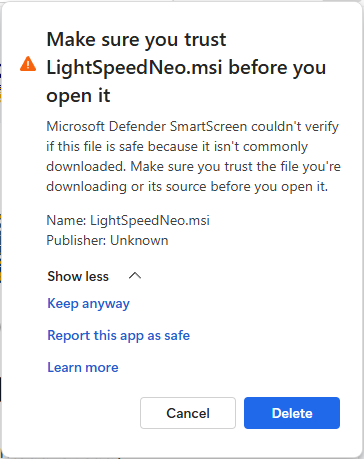
You may see a warning saying that you should make sure you trust LightSpeedNeo.msi before you open it. Click on "Show More", and then on "Keep anyway".
[](https://wiki.stenovations.com/uploads/images/gallery/2024-12/57ctBcpVyECaNwfb-image.png)
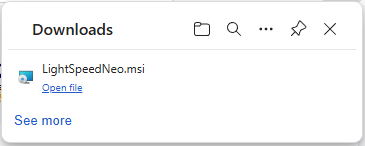
Allow the file a moment to finish downloading, and then click on "Open File".
[](https://wiki.stenovations.com/uploads/images/gallery/2024-12/sZbgTDOaIpZcjhLH-image.png)
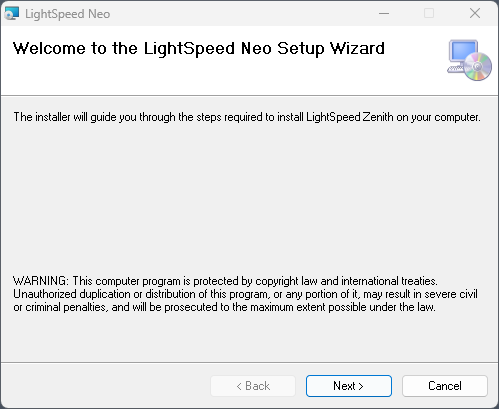
You will then see the LightSpeed Neo Installation Wizard. Click on "Next".
[](https://wiki.stenovations.com/uploads/images/gallery/2024-12/kJHz8ij7RLW7lXig-image.png)
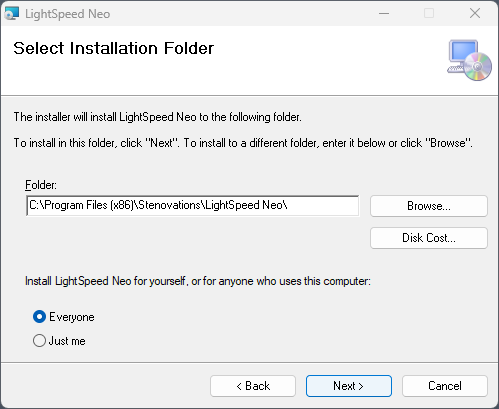
The installation wizard will then allow you to choose where to install the LightSpeed Neo software. Normally, you do not need to change any of these settings. Click on "Next".
[](https://wiki.stenovations.com/uploads/images/gallery/2024-12/bGVQDdCsKs9s0Klg-image.png)
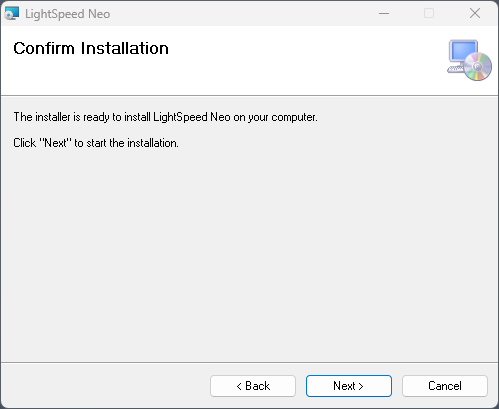
The installer will then tell you that it is ready for installation. Click on "Next".
[](https://wiki.stenovations.com/uploads/images/gallery/2024-12/eosmyyDVmsBomNH3-image.png)
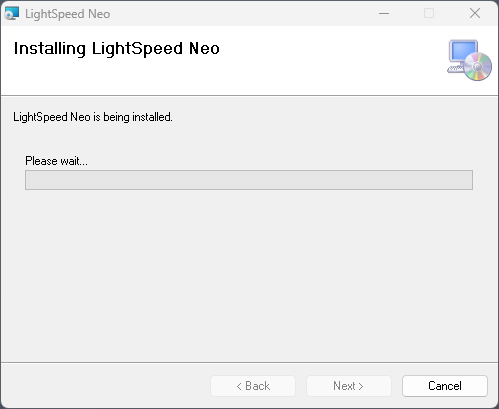
Wait for the installation to proceed. If you receive a prompt asking you if you'd like to run the program, click "Yes".
[](https://wiki.stenovations.com/uploads/images/gallery/2024-12/6LuaLGk1lwVTJkWO-image.png)
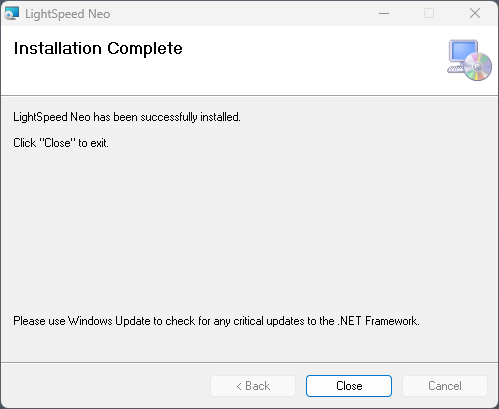
When the installation is complete, click on "Close".
[](https://wiki.stenovations.com/uploads/images/gallery/2024-12/S1mOo1pR4ySedFtT-image.png)
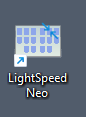
You should now have an icon on your desktop for the LightSpeed Neo software. You may also hear this referred to as the "LightSpeed GUI" or the "LightSpeed Neo GUI". Double click on this icon to start the software.
[](https://wiki.stenovations.com/uploads/images/gallery/2024-12/XIpfHxG3HXG7pOVn-image.png)
The LightSpeed Neo software should open. If there is a button in the bottom of the window that says "Stop" then you are ready to begin. If you see a button that instead says "Start", click on it, and it should change to say "Stop".
[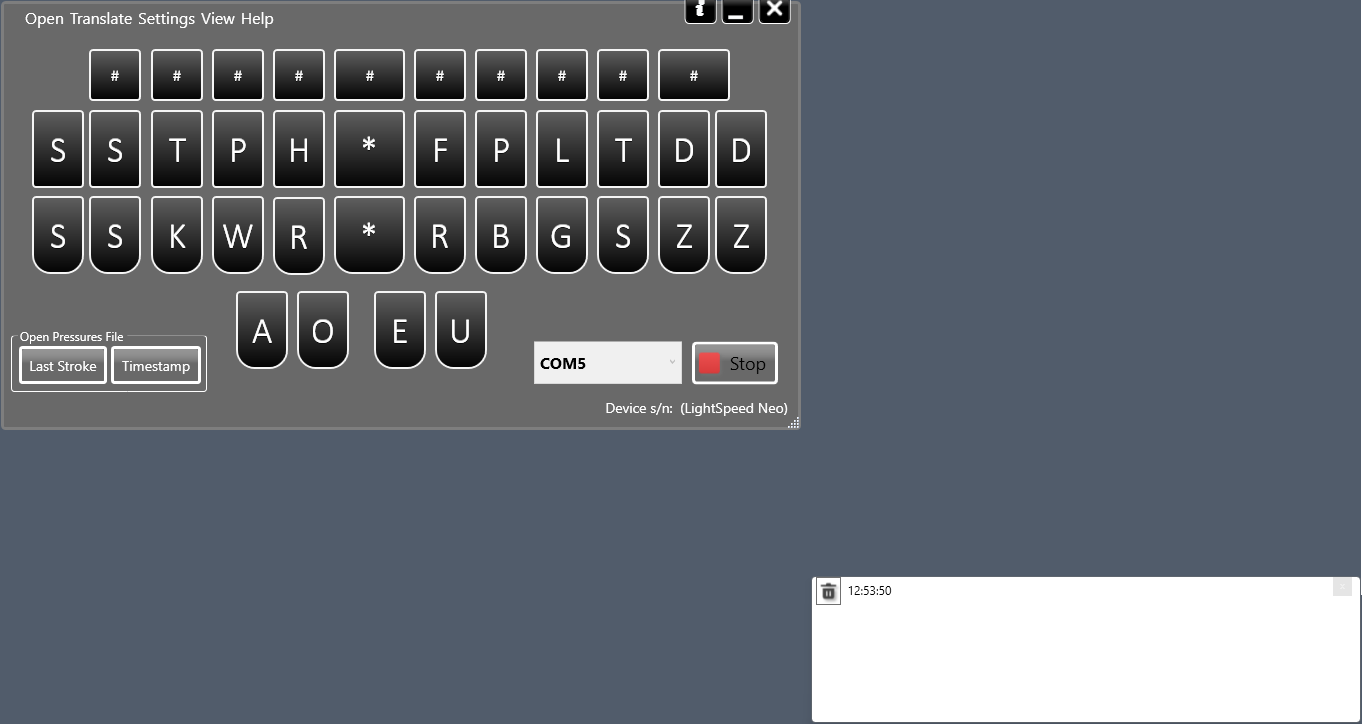](https://wiki.stenovations.com/uploads/images/gallery/2024-12/hmHsKKHIRM6kWOjn-image.png)
If you receive an error that says "Failed to create virtual serial com port", you may need to choose a different port number. You can select any different port number from the dropdown, and then try clicking Start again.
[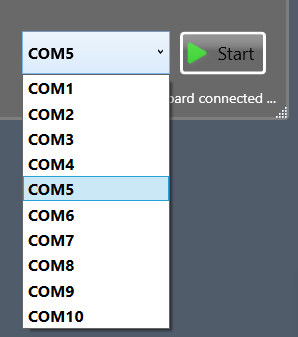](https://wiki.stenovations.com/uploads/images/gallery/2024-12/zuK1PLkNWQHZfN6d-image.png)
You are now ready to open your CAT software and continue to the next section, [Translation](https://wiki.stenovations.com/books/lightspeed-neo/page/translation "Translation").
# Translation
The steps for translation will depend on what CAT software you are using. We have instructions for several software packages below.
DigitalCAT
1. Open the **Translator** menu, and click on **Steno Source**. (If Steno Source is greyed out, you need to click on **Stop Translation** first.)
2. Set the **Primary Steno Device** to *Baron Realtime.*
3. Set the **Port 1** to the COM port number listed in the LightSpeed Neo GUI software. (This is usually *COM 5*.)
4. Click the **OK** button to save your settings.
Eclipse
1. Open the **Production** menu, and click on **User Settings**.
2. Click on the **Input** tab.
3. Set **Writer** to either *Transcriptor X* or *Baron TX*.
4. **Uncheck** the *Read from Cable* checkbox.
5. Click the **COM Setup** button.
6. Set the **COM Port** to match the number listed in the LightSpeed Neo GUI software. (This is usually *COM 5*.)
7. Click the **OK** button to save your COM port settings.
8. Click the **Test** button to make sure the settings are correct.
9. Click the **OK** button to save your Writer settings.
Case Catalyst
1. Open the **Tools** menu, go to the **Options** submenu, then click on **Translate Options**.
2. Click the **Options** button in the bottom left corner.
3. Click on the **Real-time** tab.
4. Set the **Writer** to *Baron TX*.
5. Set the **COM Port** to match the number listed in the LightSpeed Neo GUI software. (This is usually *COM 5*.)
6. Click **OK** to save your settings.
ProCat
1. Open the **Translate** menu, and click on **Preferences**.
2. Click on the **Writer** tab.
3. Set the **Writer** to *Baron TX*.
4. Set the **COM Port** to match the number listed in the LightSpeed Neo GUI software. (This is usually *COM 5*.)
5. Click **OK** to save your settings.